Search Results for ‘(“C’
-
Search Results
-
Topic: Rye Bread
This is a recipe I adjusted from a recipe called Old Milwaukee Rye. This is my hands down go to rye. I make it into free form loafs, in a bread pan or usually into sandwich buns. You can't buy sandwich buns like you will get from this. In this recipe I use honey and olive oil, but feel free to use molasses and whatever kind of fat/oil you are happy with.
This recipe uses a starter but don't let that dissuade you, it is easy. Make the starter the day before or up to 3 days ahead of time.
Starter
7.5 ounces by weight medium or dark rye
10.5 ounces water, room temp
1.25 teaspoons instant yeastMix together in a bowl and cover. Store at room temp for up to three days, it's ready to use the next day
Dough
All of the starter
10 ounces by weight bread flour
1 teaspoon salt (you can use up to 1 1/2 tsp)
2 tablespoons Olive Oil
2 tablespoons Honey
1 rounded tablespoon Vital Wheat Gluten (optional but beneficial)Procedure
On the day you bake the bread, add the dough ingredients to the starter and mix until it comes together. Cover and let rest at least 20 minutes. Knead for about 10 minutes. Dough should be somewhat sticky and supple, if it is too dry add a little water, teaspoon at a time. tip, it is helpful when handling the dough to have your hands lightly oiled
Put into a lightly oiled bowl, cover and let rise until doubled.
Preheat oven to 375 with a baking stone on the bottom rack. You can use a sheet pan if you don't have a stone, no need to preheat the sheet pan. Bread can also be made in a loaf pan.
Shape dough into the kind of loaf you desire. Cover and let rise until about doubled.
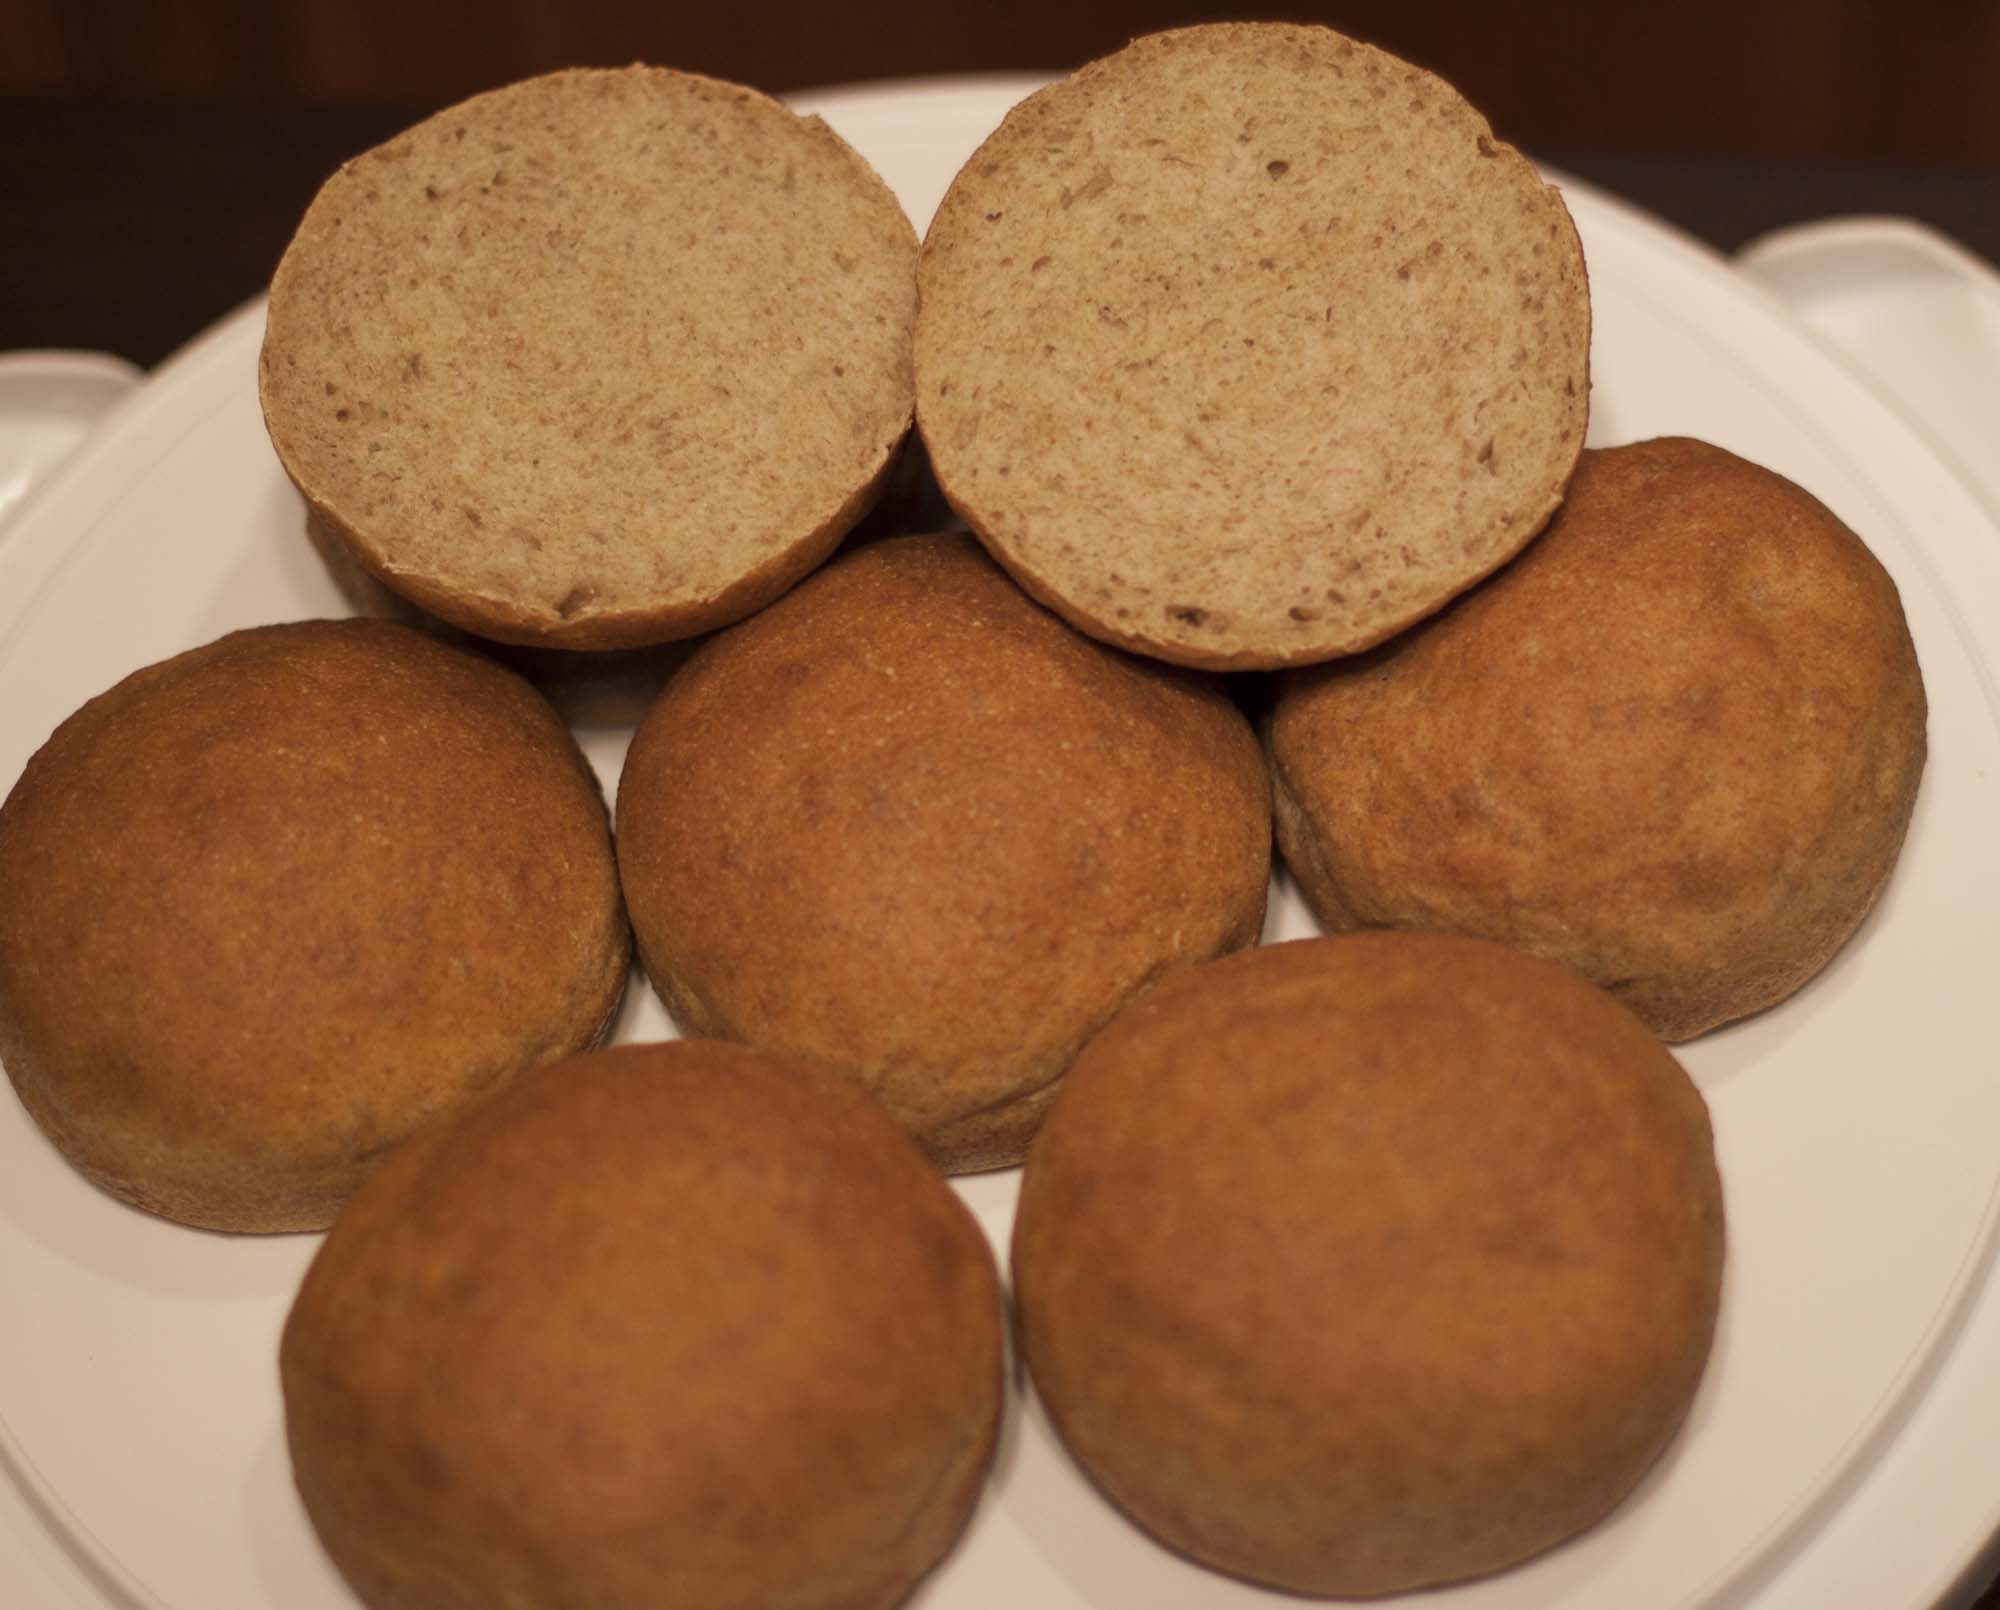
Or it can be shaped into sandwich buns, this recipe will yield 9 buns 95-97 grams each prebaked weight. That is a nice sized bun for burgers and other sandwiches.
Let's Bake
Loafs should slashed right before baking and be baked for about 40 minutes at 375 f (ovens vary so use your judgment)
Buns should be baked 15 - 16 minutes at 375 f
Let cool on a cooling rack.
Topic: Kitchen appliances
So when we bought this house, the stove in it was all wonky - the gas oven wouldn't light reliably, had 2 previous attempts at repair that didn't stick, and it was pretty old to boot.
So we bought a new gas stove to replace it. It's one of those with the cast iron grill on the whole top of the stove, which people seemed to think is Really Great, so that's what I picked out.
MAN I HATE THAT THING!
There is nowhere to put a spoon down even for 1 second. Every time I cook on it, I have to clean the ENTIRE surface and all three grills - and at least 2 grills at any time are going to be too hot to handle, so you have to remember to do it later, after it's cooled down.
While the extra-strong burner on the left front is great for cooking, the way it is placed, the flame licks out to the side so far that if you had anything even remotely flammable sitting on the counter to the left, it would go up in smoke before you realized it was even endangered. And I NEVER use the ginormous grill thing that takes up the center of the cooktop because I simply do not have a grill that large (something over 20" long).
Plus, they have gotten rid of ALL mechanical dials and switches and the oven light doesn't come on when you open the door - you have to find the membrane key on the back of the stove to turn it on (instead of a nice easy to find rocker switch). In order to start the oven, you can't just turn a dial = you have to find and press the "bake" membrane key (as opposed to the "Clean Oven" key or the "Broil" key), then set the temp using +/- keys, then find the key labeled "Start". All of these placed at the back of the stove so you can't really read them without leaning forward - which you'd better not do when a burner is on. Too far for the reading part of your bifocals, but too close for the distance part, LOL!
If you forget to push "start", it just resets and you have to do it all over again. Then if you want to adjust the temp for any reason - you have to find the key labeled "Cancel" or "stop" (I forget exactly how it's labeled) and start all over again. You can't just bump it up or down a few degrees.
Actually there are still dials for the burners - but when you go to light a burner, they ALL click to light - which means I am no longer sure WHICH burner I'm trying to light because they all click. I'm used to having that clicking sound as an added clue to which burner I'm actually lighting.
They then proceeded to mount these dials on the FRONT of the stove so any kid can wander by and turn them on - without necessarily actually LIGHTING anything. And you can catch yourself on one and accidentally turn it because they're right at a height and position where that can happen - say as you lean forward trying to read the lettering for the oven controls on the BACK of the stove, LOL!
This thing is almost entirely electronic. There is no way I would even consider using the self-cleaning function - because that is known to greatly shorten the life of the electronics on the stove. You didn't have these problems when the controls were mechanical. Plus - electronic clock, but no battery backup for it so when the power glitches out for even a second (which it does here regularly because - high winds, overhead power lines) the clock loses the time. So now the clock is never correct because I got tired of having to reset it every time I turn around.
The oven racks for some bizarre reason are super sticky, almost like they'd already been through a cleaning cycle that took the slick coating off. And they won't come out very far so you end up having to reach into the oven cavity to get at anything more than halfway back on the rack.
The one good thing about this stove is that at least it doesn't lose heat so badly that the stovetop gets burning hot every time you use the oven. It doesn't retain heat as well as the (older, same brand) stove at my son's house - but it's better than that horrible horrible stove we ended up with when we were in that apartment when my son was still working on his doctorate.
So - hate that thing. When I get wherever I'm going, whenever I get there (given I do not want to spend the rest of my life living in a desert) I hope it has a trash stove so I can get an induction cooktop - which has lots of safety features including NOT GETTING HOT, it only heats the pan, and autoshutting off in case you forget to turn it off soon enough and things start to burn, and which will never never ever set the kitchen towel on the counter next to it on fire. And then I'll get a gas oven. Preferably one with as few electronic controls as possible.
ON THE BRIGHTER SIDE - Since I haven't been able to find my rice cooker since June last year now, I finally broke down and bought myself a new one. And since I ALREADY actually have TWO "normal" rice cookers packed in boxes somewhere, one small and one larger, I broke ALL the way down and got a Zo "Micom" fuzzy logic rice cooker.
IT'S AWESOME! It's the first rice cooker I've had in 30 years that I can actually turn ALL the way off! And it hardly lets out any steam at all, let alone boiling over the way a lot of the newer cookers do because they cook the rice too fast, which causes boil-over and a big mess. Unless you soak the rice for 30 mins or so before you start it up - in which case the rice takes just as long (if not longer) to cook at these new higher temps as it did with the older cookers that cooked for a longer time at lower temps. Cooking faster at higher temps also tends to make the texture of the rice not all it should be.
So - honestly - I think most of the advantage of this cooker has nothing to do with electronics and "fuzzy logic" but mostly to do with cooking it more slowly at lower temps the way the old cookers did lo these many moons ago.
Plus I can cook dahl (lentils) in it, and it will supposedly even bake cakes.
And did I mention I CAN TURN IT OFF!!! Also, once having turned it off, it still keeps the rice hot for a long time because it is so well insulated - which also means it never gets too hot to touch.
I still love my Zo bread maker, but now I have a new Zo to love!
Deluxe Cheesy Tuna Noodle Casserole
The tuna casserole or hot dish has been the subject of many jokes, but this version elevates the simple comfort food. I do not recall where the basic recipe originated, but I suspect it was from one of the evaporated milk companies. I replaced cheddar cheese with Gouda and replaced Worcestershire sauce with dried mustard. The spinach noodles are also my idea
1/2 cup chopped onion (optional)
2 Tbs. butter
2 Tbs. flour
1 1/2 cups (one can) low-fat evaporated milk
2/3 cups water
1/4 tsp. freshly ground black pepper
1/2. tsp. dried mustard
4 oz. (about 1 cup) shredded Gouda cheese
2 (5 oz.) cans tuna, drained
1 1/2 cups frozen peas, cooked12 oz. spinach noodles (or regular noodles) cooked and drained
1/4 cup grated Gouda cheese
While noodles are cooking, melt butter in 3-quart saucepan. Saute onion, then stir in flour and dried mustard. Gradually add evaporated milk, while stirring, and then the water. Stirring constantly, cook over medium heat until mixture boils. Remove from heat. Stir in one cup of grated cheese and the pepper. Stir until cheese is melted. Stir in tuna, then peas. Add drained noodles. Spoon into pammed 2-3 quart casserole dish. Top with remaining 1/4 cup grated cheese.
Bake at 350F for 25 minutes.
Note: 2-quart casserole dish will be full to the top.
