Take your best knife out and look at it closely. How sharp is it?
Probably not as sharp as you think it is.
Here’s one of my favorite knives, a 7 1⁄2 inch Chinese cleaver:
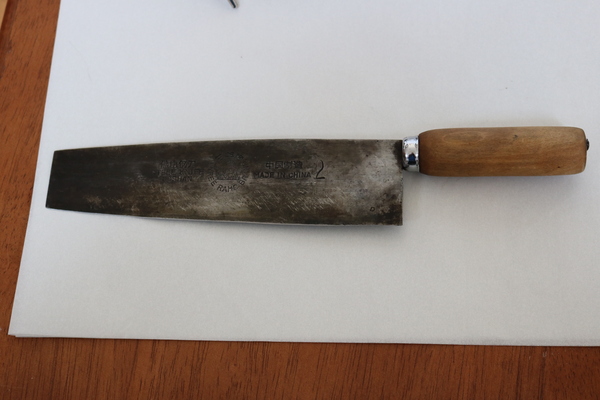
Looks pretty sharp, eh?
Let’s look at it a bit closer, at about 3X power:
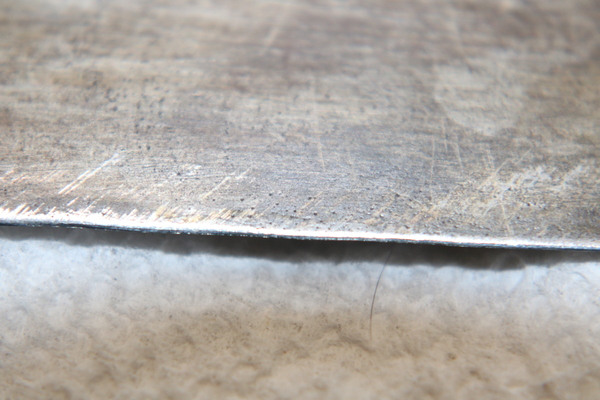
Still look pretty sharp? Let’s try it at 150X power:
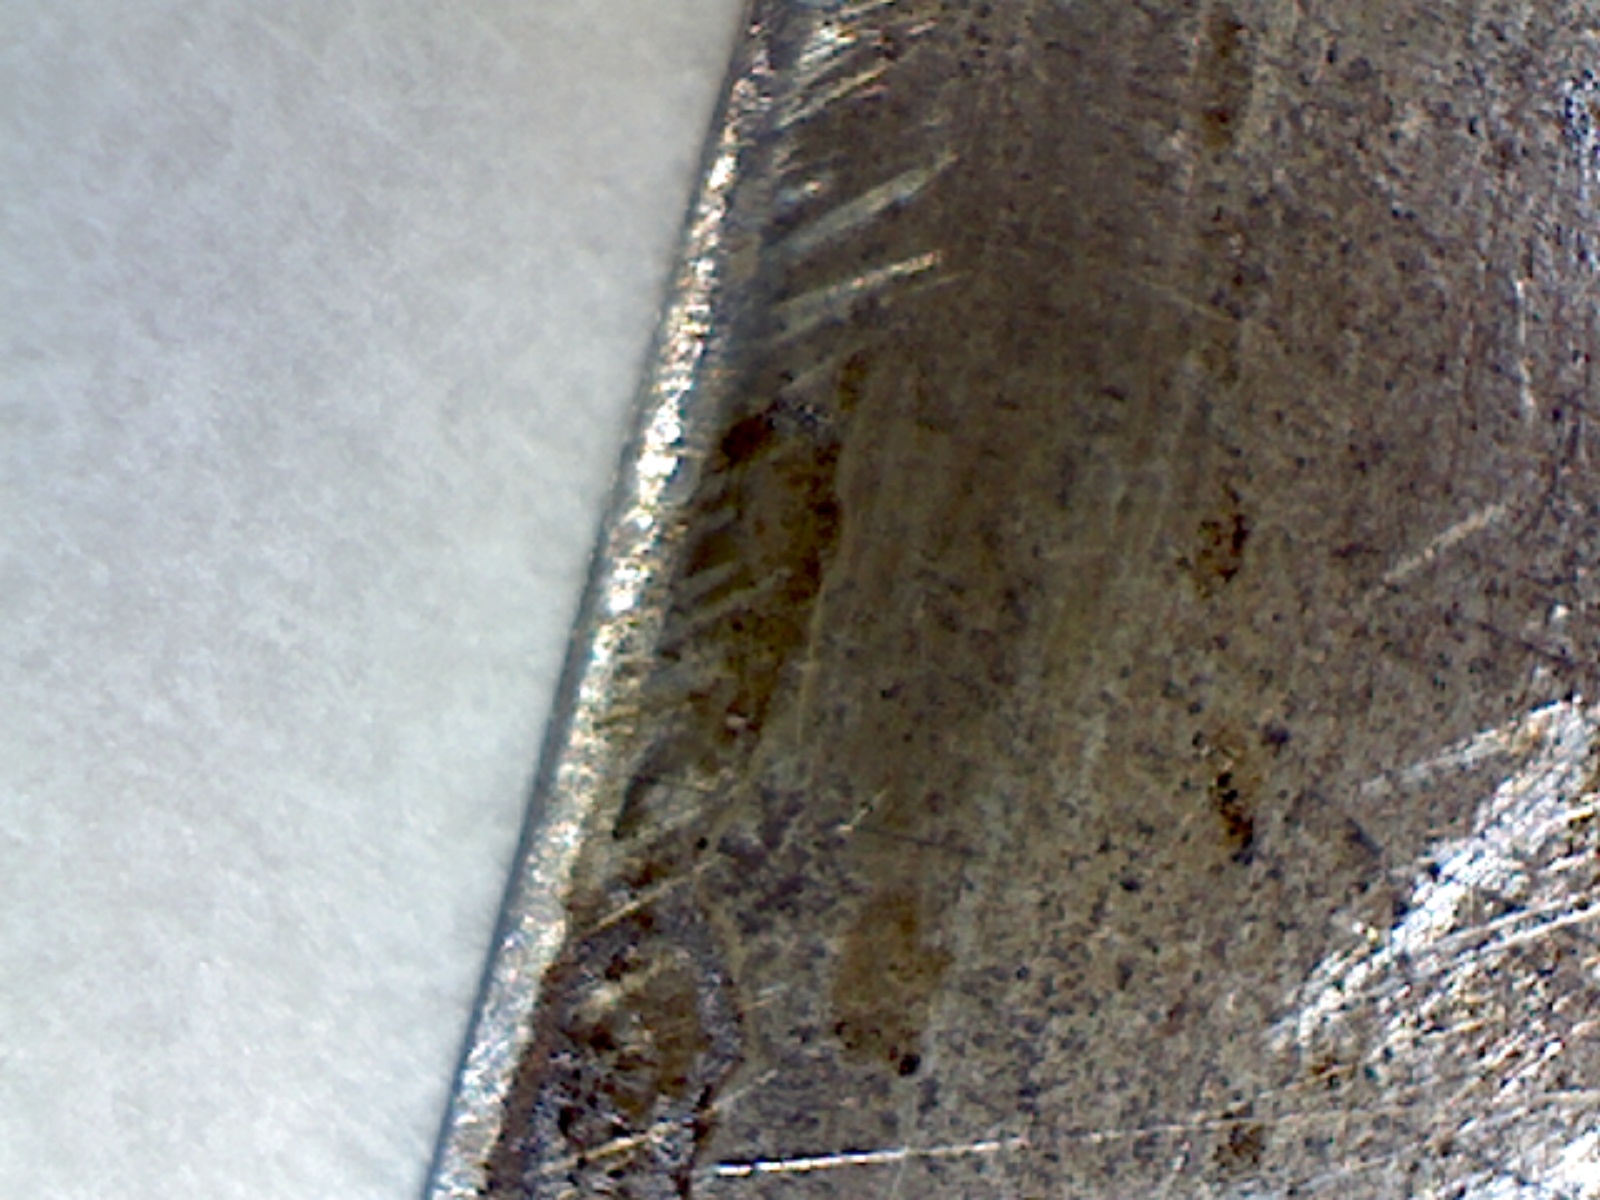
Now you can see lots of bumps and grooves, and the edge is uneven, too. And this knife has been run through an Accusharp V sharpener recently.
But a V sharpener or a sharpening steel don’t put a new edge on a knife, all they do is smooth out some of the rougher parts of the edge you have.
So, it’s time to give this knife a good sharpening.
There are several different types and grades of sharpening stones you can use, but in general they all come down to two factors: The grit number and the wetting agent.
I’m currently using a Lansky knife sharpening kit that has 5 stones, ranging from really coarse (70 grit) to fairly fine (1000 grit.) Sharpening stones go all the way up to 6000 grit.
The wetting agent keeps the surface of your stone from getting clogged up, basically the oil or the water float away the metal particles you grind off the knife as you sharpen it.
The stones in my Lansky kit use oil as the wetting agent, I think oil stones are a bit easier to maintain. There are also water stones, which generally need to be soaked in water for a few minutes and washed off afterwards. There are stones that say they can be used dry, but you’ll need to refresh the stone periodically, possibly even grind it down, or at the very least clean it with a toothbrush.
When using sharpening stones, you want to start with a coarser (lower) grit stone and work up. Because this knife is already fairly sharp and doesn’t need a whole new edge, I’m going to start with the ‘medium’ stone in my kit, which is a 280 grit stone.
To use a stone, start at the heel of the knife and work towards the point. If you use a manual stone, push the knife across the stone, blade first, while sliding the knife sideways towards the tip. (There are many very good videos of the proper sharpening technique on the Internet; the main purpose of this post is to show you what your knives probably look like and happens when you sharpen your knives–at a microscopic level.)
With my Lansky kit, the knife remains fixed and the stones moves across the knife, but the process is pretty much the same, starting at the heel and moving towards the point, and the direction of the grind is always towards the knife, not away from it, because you’re trying to take metal off the blade.
Here’s what my knife looks like after using the medium (280 grit) stone:
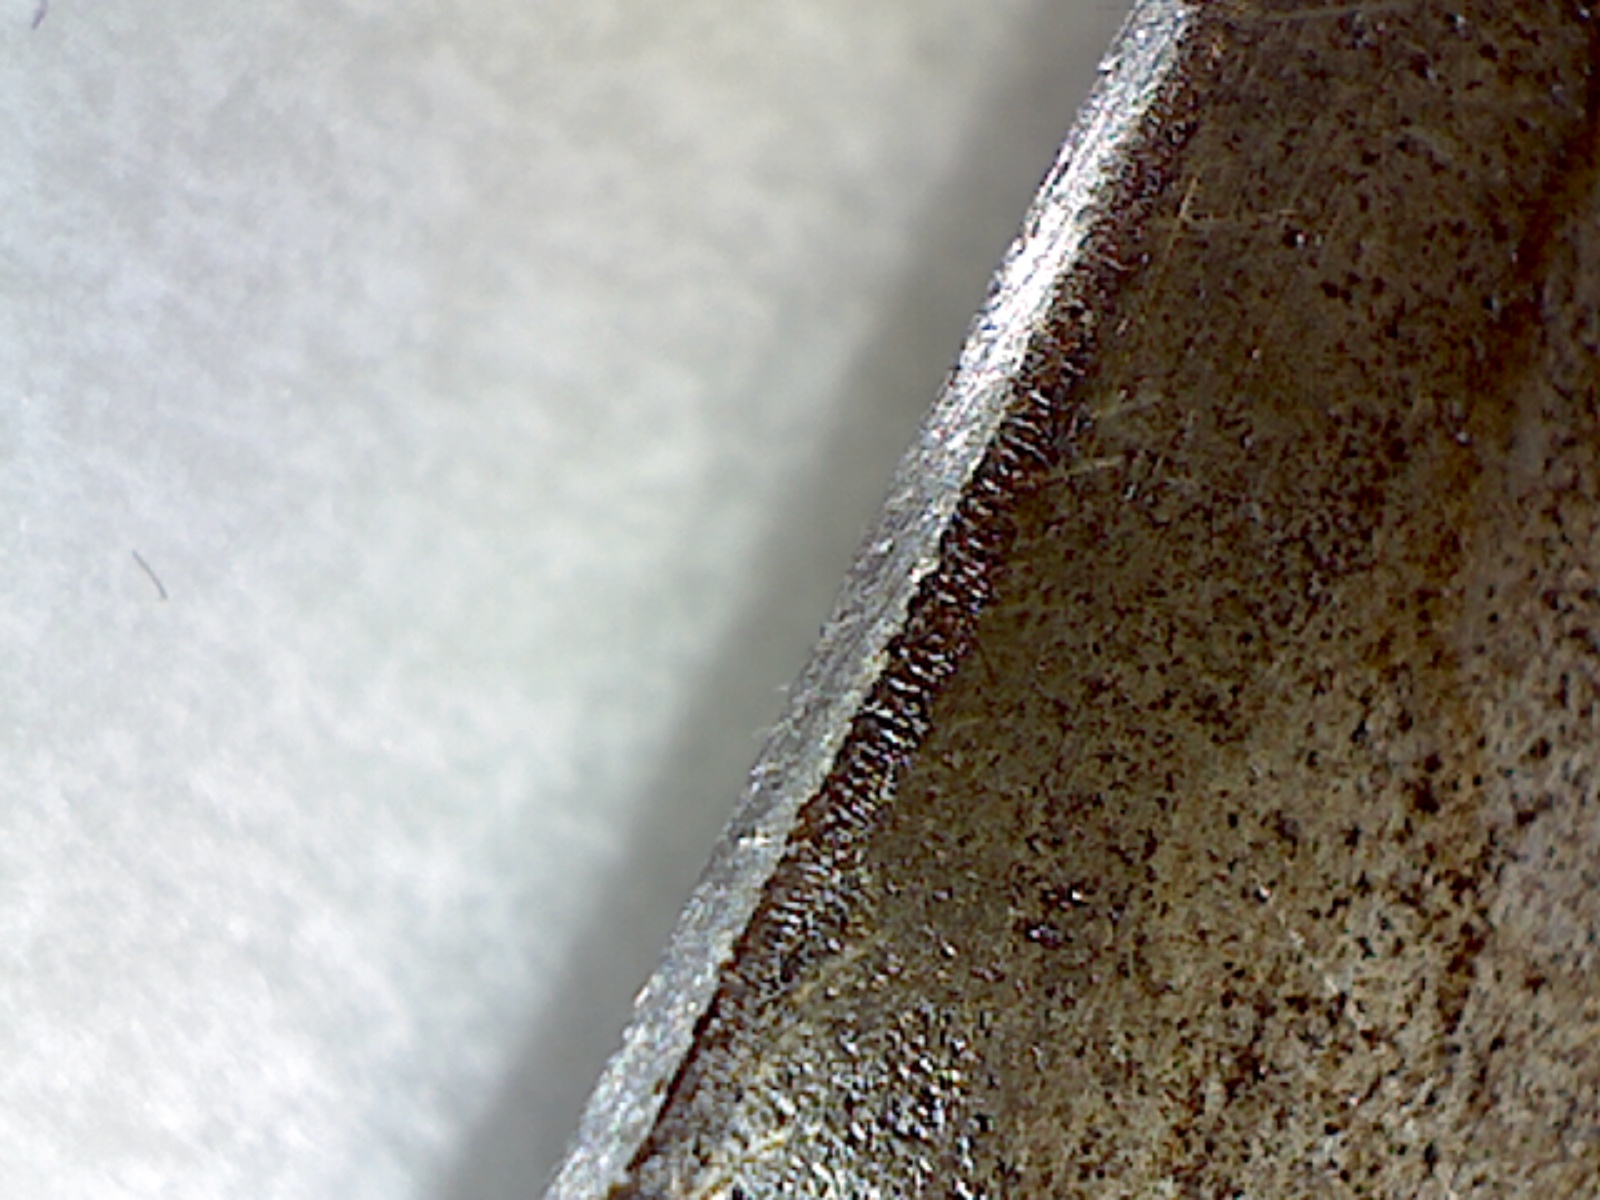
Here’s what it looks like after using the 2nd (600 grit) stone:
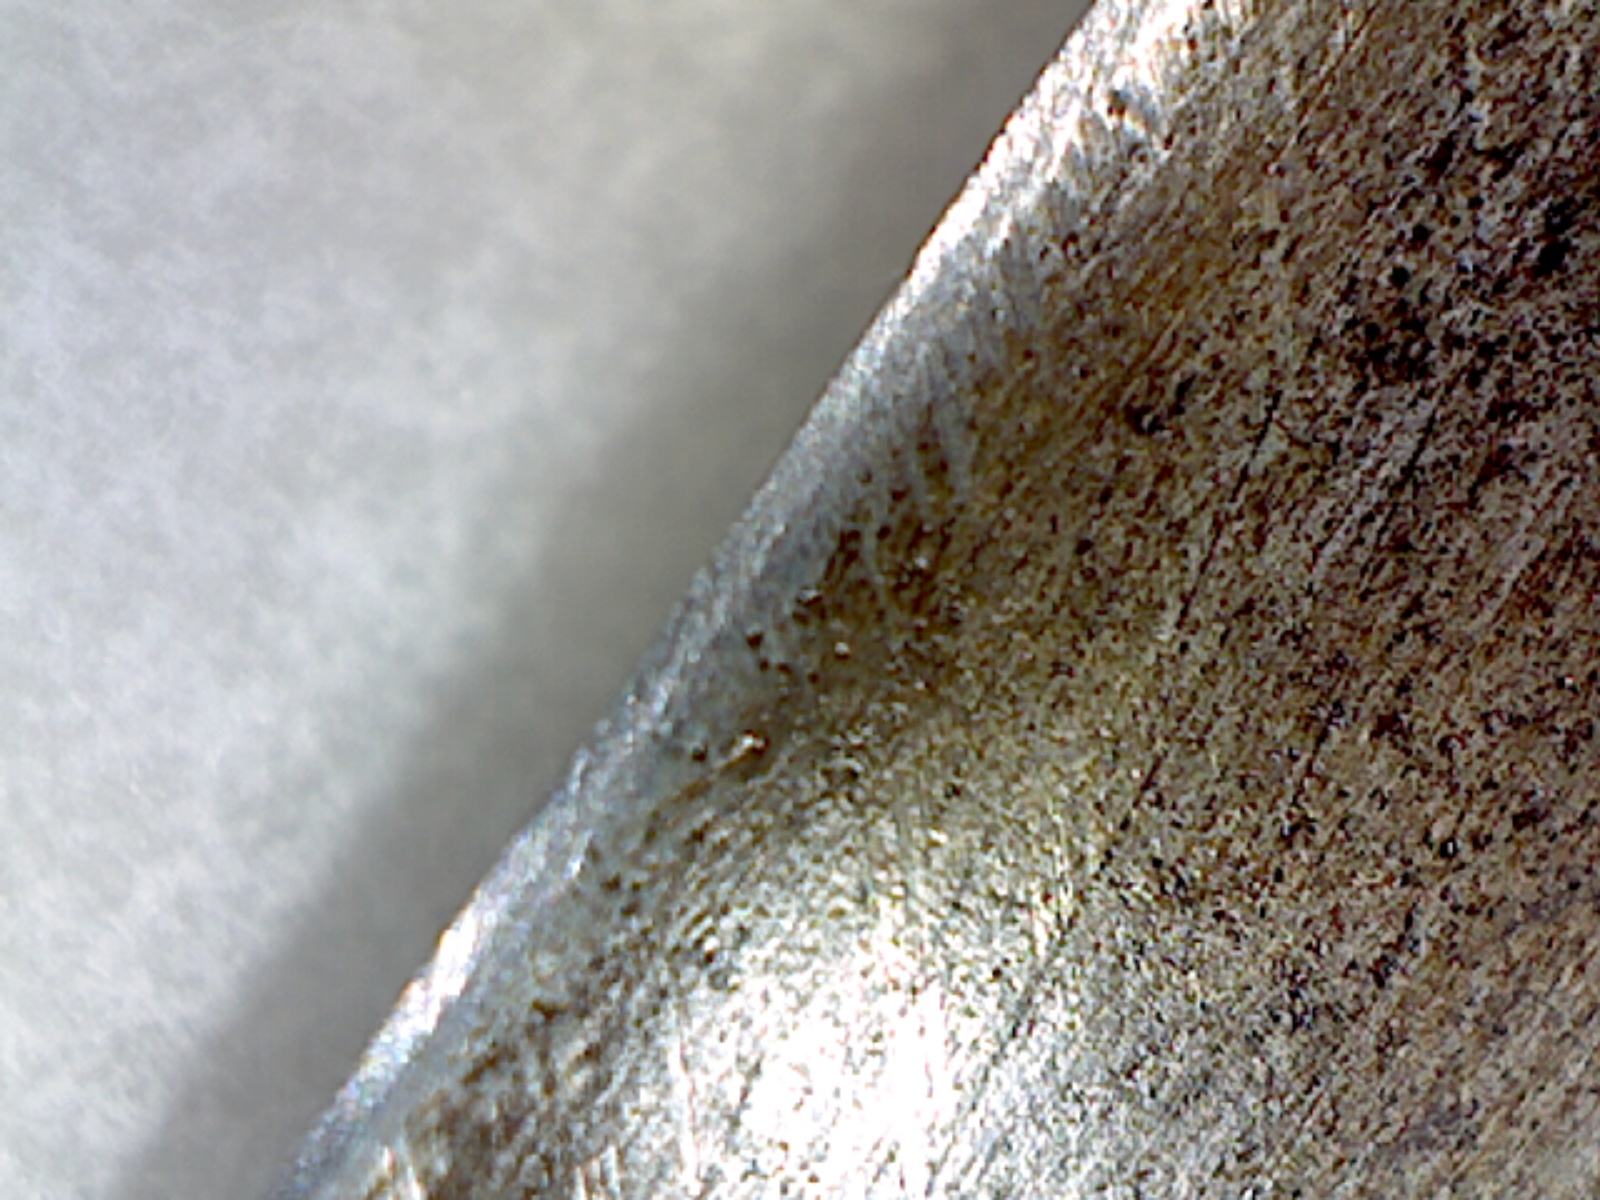
And here’s what it looks like after using the 3rd (1000 grit) stone:
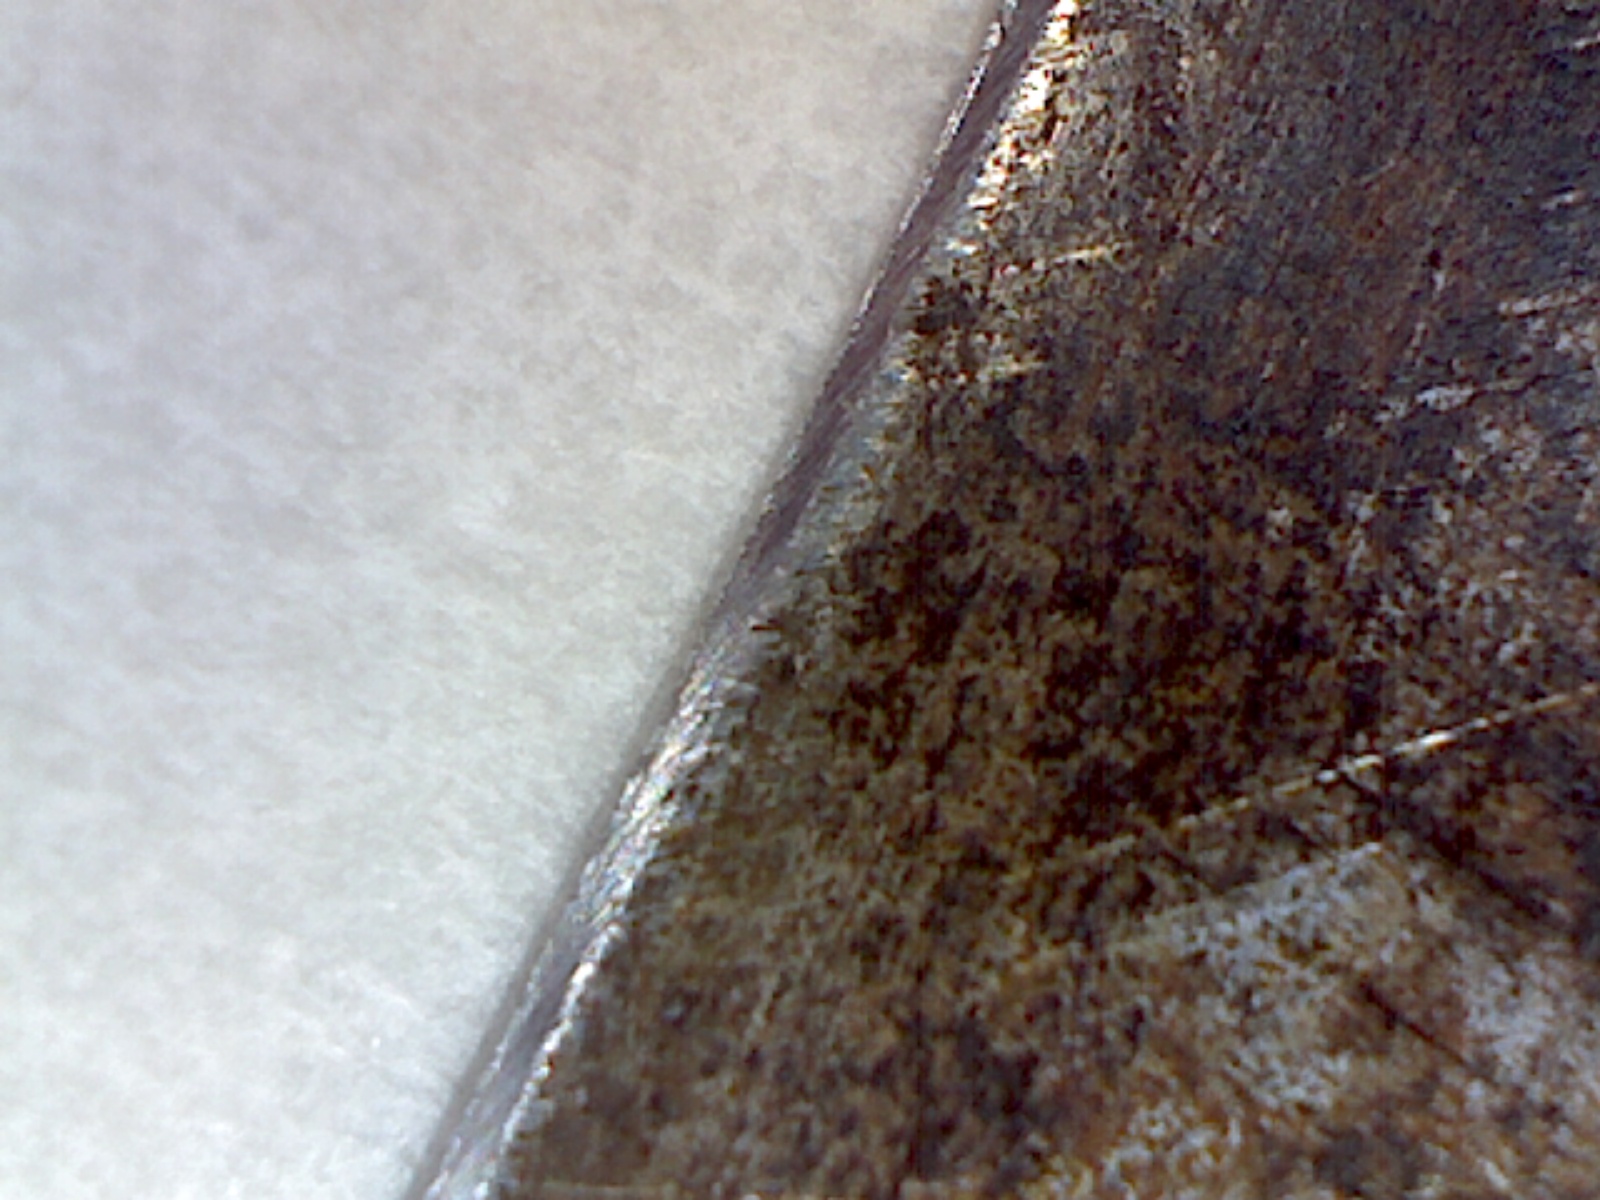
The bumps and grooves are a lot smaller, aren’t they? And the edge is pretty straight, too.
If I had finer grit stones, I could take it down to almost a mirror finish, but I find that a 1000 grit stone is sharp enough for me.
If you’re patient enough, you can take almost any knife and give it a new edge. If the knife has big nicks in it, you can build a whole new edge, but it’ll take you an hour or longer to do it right. You can also use a professional knife sharpening service, if you’re fortunate enough to have a good one in your city.
One final note on photography:
The first two pictures were taken with a Canon T6i camera, the first with a 55 mm lens and the second with 14 diopters of macro filters added.
The photomicrographs were taken with a Celestron Handheld Digital Microscope.

Home › Forums › The Cutting Edge or How Sharp is your Knife?
Tagged: grit, knife, sharpen, shun knife sharp microscope